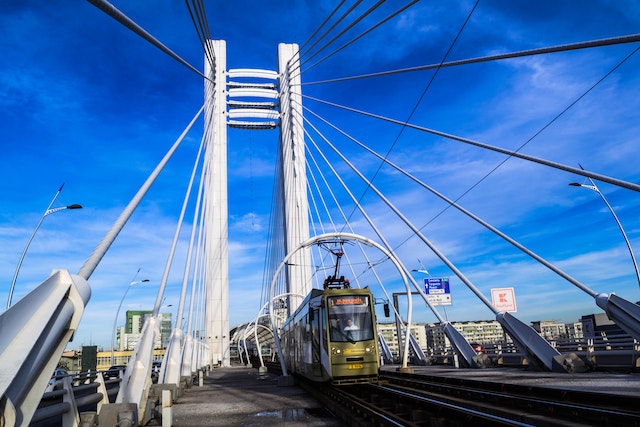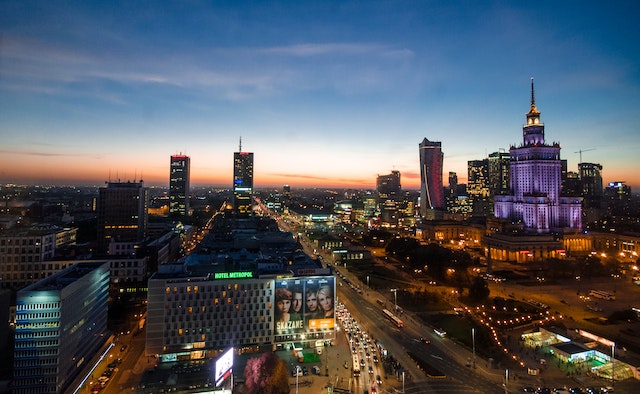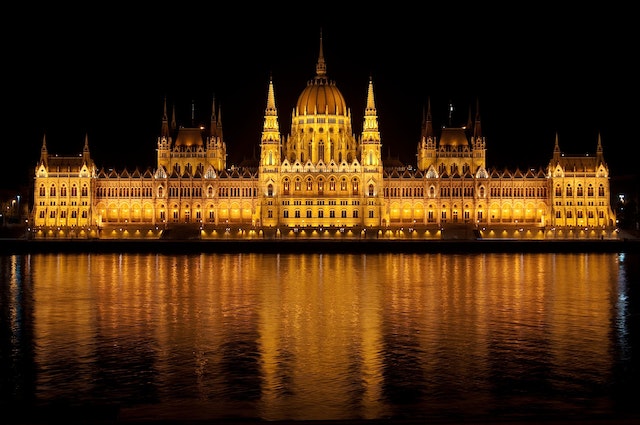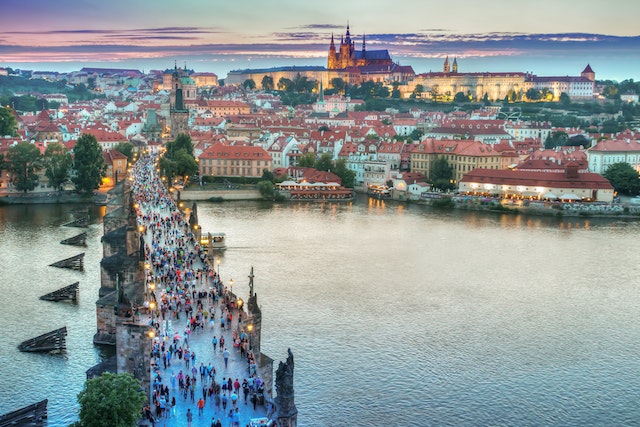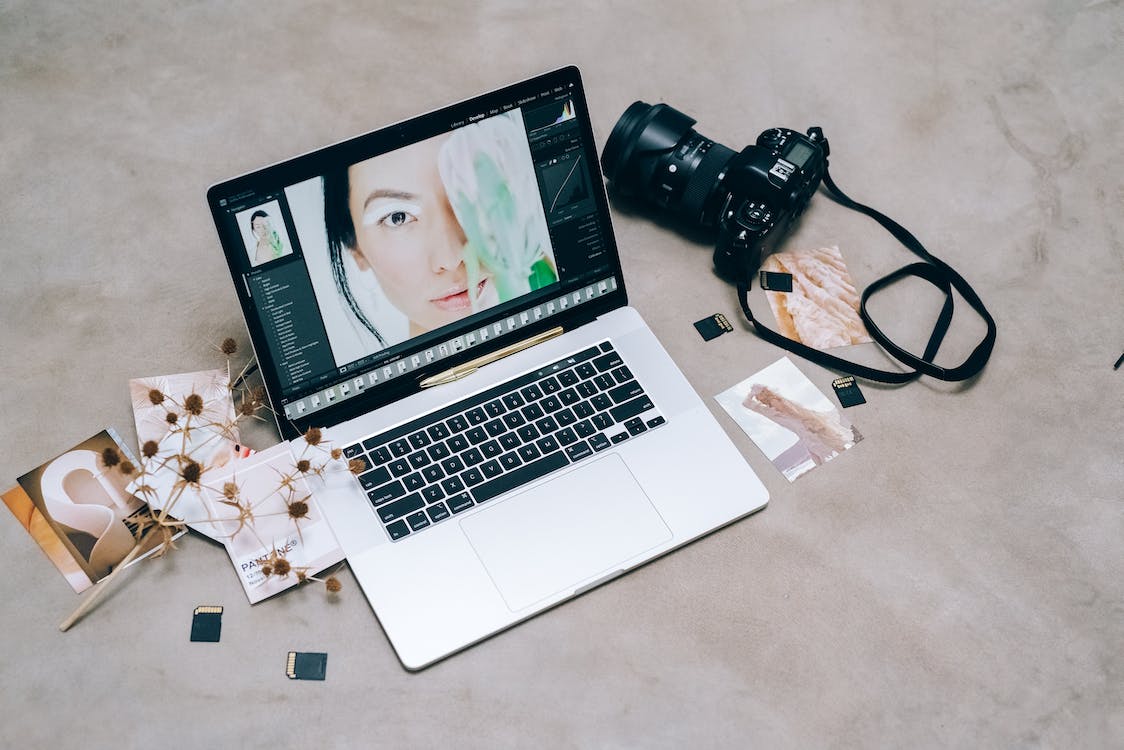
While capturing the beauty of your destinations through your lens is thrilling, the magic doesn’t end there. As a seasoned world traveler who has explored various corners of the globe, I’ve discovered the power of post-processing in transforming ordinary travel photos into extraordinary visual stories. Today, I’ll be sharing my post-processing secrets, practical insights, and personal anecdotes to help you enhance your travel photos with editing techniques. So, grab your computer, fire up your editing software, and let’s dive into the world of post-processing!
Shoot in RAW for Maximum Flexibility:
To have more control over your post-processing, consider shooting in RAW format. RAW files contain all the data captured by your camera’s sensor, giving you greater latitude for adjustments and enhancements. While RAW files require more storage space, they offer better image quality and allow you to recover details in highlights and shadows during editing. Shooting in RAW gives you the flexibility to create stunning results that truly reflect the beauty of your travel experiences.
Start with Basic Adjustments
When you first open your travel photo in editing software, begin with the basic adjustments. These include tweaking exposure, adjusting white balance, and fine-tuning contrast, highlights, shadows, and saturation. By making these initial adjustments, you can bring your photo closer to your original vision and ensure a solid foundation for further enhancements.
Enhance Colors and Tonal Range
Colors play a vital role in travel photography, as they can evoke emotions and capture the essence of a place. During post-processing, enhance the vibrancy and saturation of colors to make them pop. Adjust the tone curve to add depth and create a balanced tonal range. Be mindful not to overdo it, though. Strive for a natural look that enhances the beauty of your travel photos without appearing overly processed.
Remove Distractions and Refine Composition
Editing is not just about enhancing; it’s also about refining. Take the time to remove distractions or elements that may detract from the focal point of your photo. Use the clone or healing tool to eliminate unwanted objects or blemishes. Additionally, consider cropping or straightening your composition to improve the overall balance and visual impact of your image.
Experiment with Creative Effects:
Once you’ve addressed the basic adjustments and refined the composition, it’s time to get creative! Experiment with different creative effects, such as black-and-white conversions, selective color adjustments, or adding vignettes. These effects can add a unique touch and enhance the mood or storytelling aspect of your travel photos. Remember, creativity knows no bounds, so let your imagination soar!
Maintain a Consistent Style
While exploring various editing techniques is exciting, strive to maintain a consistent style across your travel photos. Consistency helps create a cohesive narrative and makes your photos recognizable as your own. Experiment with different editing styles to find one that resonates with your vision and the stories you want to tell through your travel photography.
Conclusion
Post-processing is an art form that allows you to unleash the full potential of your travel photos and create stunning visual stories. Shoot in RAW for maximum flexibility, start with basic adjustments, enhance colors and tonal range, refine composition, experiment with creative effects, and maintain a consistent style. As you embark on your post-processing journey, remember that editing should enhance and complement the beauty you captured through your lens, not replace it. Find a balance that showcases the essence of your travel experiences while allowing your creativity to shine. Happy editing, and may your travel photos become powerful testaments to the extraordinary adventures you’ve embarked upon!